Showing posts with label homemaking. Show all posts

Saturday, April 14, 2012

Coconut Banana Bread!

Last Saturday I woke up extremely early and thought I would throw some muffins in the oven while I cleaned the house. . .thus I would end up with a delicious breakfast treat to cap off the house cleaning.
It is getting to be the time of year where it seems we end up with an over-ripe banana at the end of each bunch. So, luckily, I had three over-ripe bananas saved up in the fridge dying to become my favorite bread/muffins (okay actually this recipe is just somewhere in the top 5).
Some of you may have noticed that I am a bit obsessed with Mark Bittman well the obsession continues because this bread if from his How to Cook Everything cookbook and it has become my default banana bread. . .I would have never thought to put coconut in banana bread but I am glad Bittman did and if you have some bananas and coconut lying around you should give this recipe a try too.
Untitled

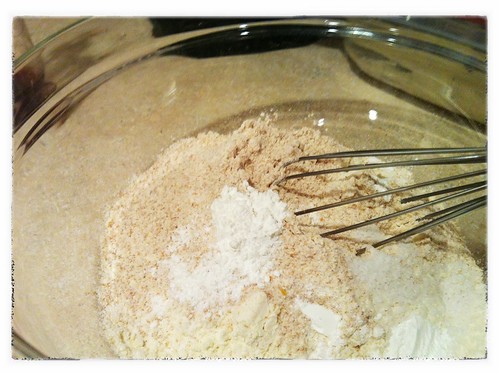
Whisking dry ingredients

Untitled
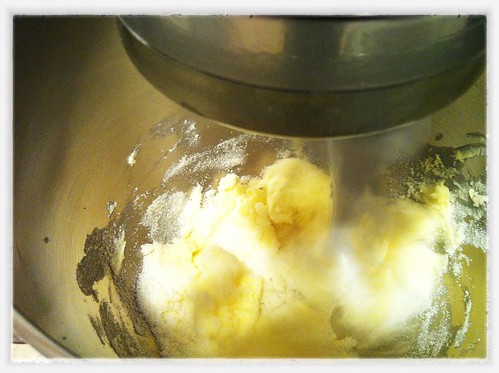
Creaming butter and sugar

Untitled
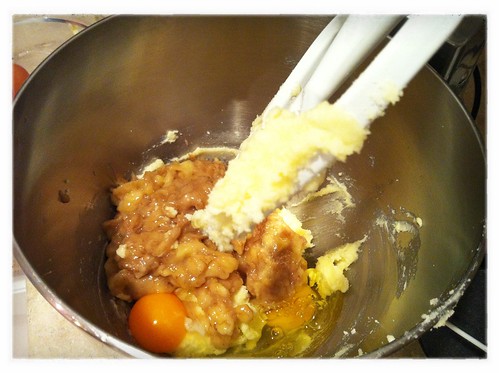
Eggs and banana

Untitled
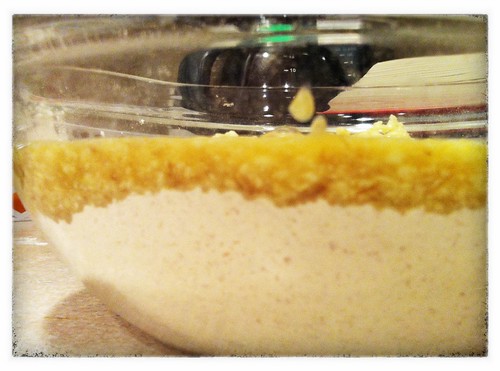
Add wet to dry

Untitled
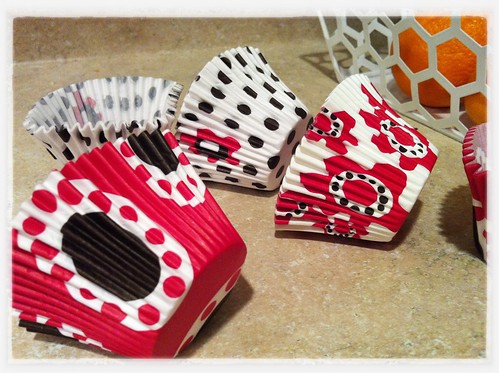
How cute are these. . .Ikea a few years ago
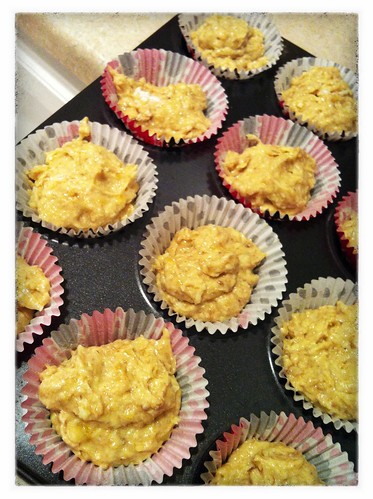
Untitled
Ready for baking.

Untitled
Delicious!!!

Mark Bittman’s Banana Bread
Adapted from How to Cook Everything by Mark Bittman

Ingredients
8 tablespoons butter, plus some for greasing the pan (I always use unsalted)
1 1/2 cups all-purpose flour
1/2 cup wheat flour
1 teaspoon salt
1 1/2 teaspoons baking powder
3/4 sugar
2 eggs
3 very ripe bananas, mashed with a fork until smooth
1 teaspoon vanilla extract
1/2 cup chopped pecans or walnuts (I didn't use)
1/2 grated dried unsweetened coconut (I didn't have quite enough unsweetened so I mixed in about a tablespoon of sweetened coconut)

Preheat the oven to 350 degrees F. Grease a 9×5 inch loaf pan. (I used a muffin tin)

Mix together the dry ingredients. Cream the butter and beat in the eggs and bananas (out of habit I usually cream the butter and sugar together and have never had a problem). Stir this mixture into the dry ingredients; do not mix more than necessary. Gently stir in the vanilla, nuts, and coconut (I typically mix the coconut in with the dry ingredients first).
Pour the batter into the loaf pan and bake for 45 to 60 (about 35 for muffins) minutes, until nicely browned. A toothpick inserted in the center of the bread will come out fairly clean, but banana bread is excessively moist compared to other breads. Do not overcook. cool on a rack for 15 minutes before removing from the pan. To store, wrap in waxed paper (I freeze them and they reheat in the microwave wonderfully).

Tuesday, February 21, 2012

Kitchen Garden

It has been an extremely mild winter, here in OK, to the point that people still have patches of green grass BUT (as always) I am ready for spring and longer days and outside projects. I don't think I am made to handle the winter I usually feel tired and a little sad by this point in the year, luckily spring is near. As a way to usher in nicer weather (hopefully) and bring something living and fresh into the house I decided to try out a couple of kitchen gardening ideas I had been hearing about. 1: growing green onions from the bulbs of store bought onions. 2: growing my own sprouts in a mason jar.

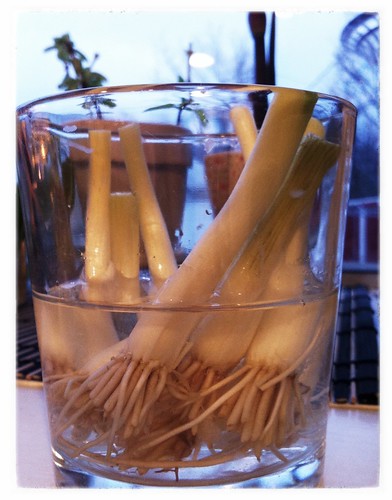
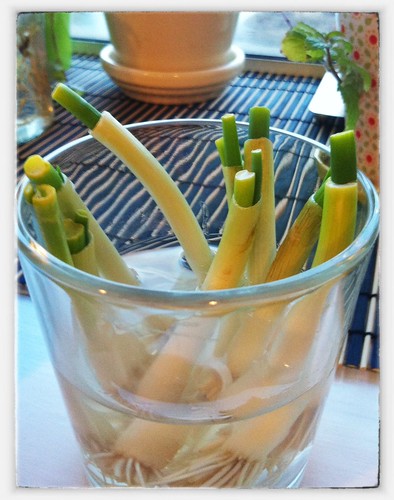
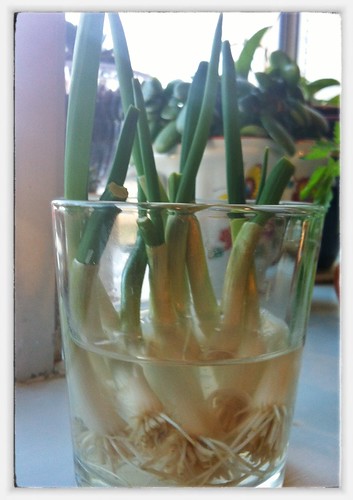
Kitchen Garden-Attempt #1: GREEN ONIONS. While looking at random things on line I came across this post, explaining that one could take the green onions they had purchased at the store, use the green part, place the bulbs in water and regrow. I thought this seemed too good to be true but I had some onions in the fridge that needed used ASAP so I gave it a whirl. . . look at how great it turned out! In a little over a week I had beautiful green onions just waiting to be stir-fried or put in who knows what.

Freshly trimmed

A little bit of new growth

Even more growth

Beautiful!!!!!
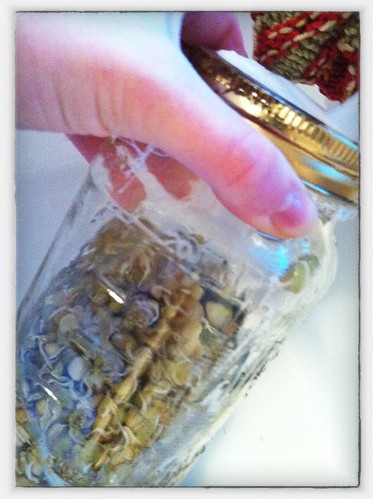
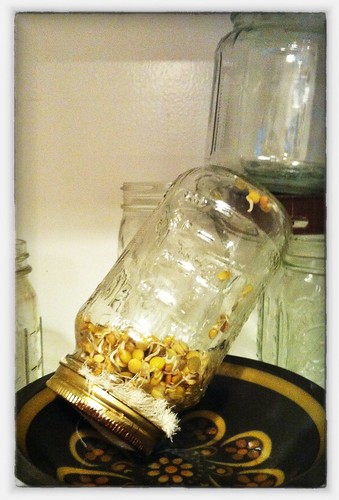
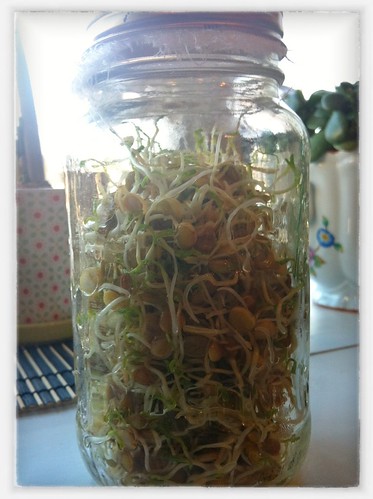
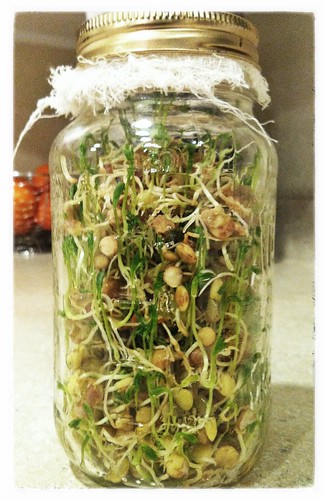
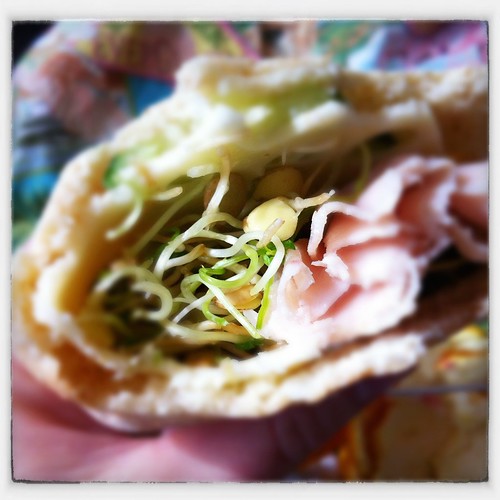
Kitchen Garden-Attempt #2: SPROUTS! A few weeks ago Jerod and I had brunch with some friends who happened to mention they had recieved a sprouter as a gift and were going to start growing their own sprouts. I had never heard of doing this or that you could buy a contraption to help you so I did a little research and discovered that you can also grow sprouts in a mason jar. I figured I would try this method and see if I was even interested in being a sprout farmer (I based my growing method on the instructions provided here and here). It ended up being super easy. All you do is take a 1/4 cup of whatever you are growing (I used lentils), add atleast 2 inches of water over the seed/bean/whatever, cover the top of the jar with cheese cloth secure it, and let the seed/bean/whatever soak in a dark place for 12 hours. The next day you rinse the seed/bean/whatever, get as much water out as you can and place the container back in the dark spot to drain, you will do this step 2 to 3 times a day. Once your sprouts have begun growing and get to around a 1/4 to 1/2" place the container in the window for a day or two to greens things up and get the sprouts a little bigger, remove from the jar and place in an air tight container in the fridge. I have been eating sprout, cucumber and turkey sandwiches nonstop! This little project took about a week from soaking to eating. The time and care might be slightly different for other sprouts. I am dying to try Mung Bean so we will see what happends with those.
Soaking!

Rinsing

Draining. . . in my jar cabinet

Ready for the window.

All greened up and ready to eat.

The best lunch ever!
I hope all of you are making it through the winter or finding ways of coping.

Wednesday, February 15, 2012

Falafel Factory

Last Saturday morning Jerod and I got to talking about our plans for the day and came to the conclusion we would have a stay-at-home date that night (i.e. cooking and a movie). It was a cold, gloomy day perfect for being in the the kitchen so I decided to tackle one of my cooking fears and make falafel! Jerod and I both LOVE falafel sandwiches but I have only attempted to make it once, about 6 years ago, with little success. This time was not without problem but better, I think I have figured out the issues and will be able to perfect it in the future.
. . . And if one is having falafel one needs pita too so not only did I have a falafel factory I had a pita factory (thanks to the Hobgood Five for titling these kitchen endeavors) we now have pita in the freezer for at least a month, no more boring sandwiches on regular bread for us. Below are some details about the falafel process:
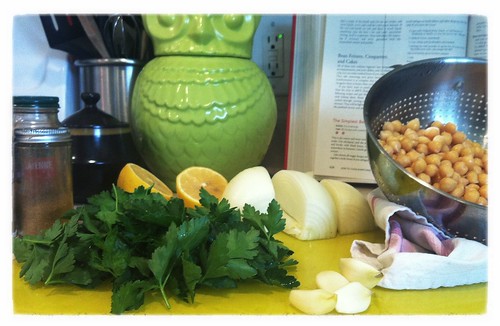
There really aren't too many ingredients in the falafel-Chickpeas, onion, garlic, parsley, lemon juice, and a few spices.
oh, I merged recipes from here and here to create the falafel recipe.

Food processing . . .

. . .more food processing.

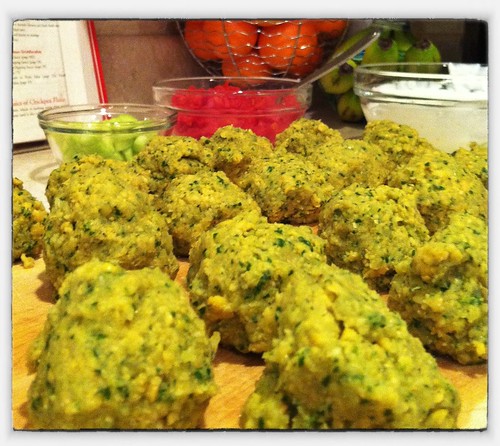
Shaped into balls and ready for cooking.

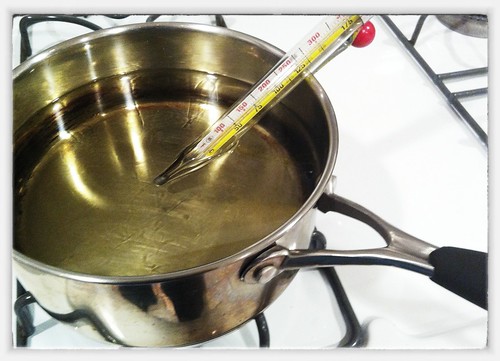
The oil heating up. I do not often deep fry things and was quite nervous about this step. As it turns out I had every reason to be, but we'll get to that.

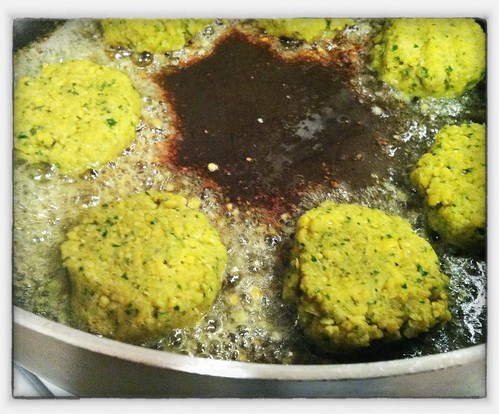
As you can see I am no longer deep frying and have transferred everything to a skillet, at least it's a little healthier for us now. Here is what happened: I put the first 5 falafel in the oil to fry and they completely disintegrated, as in were gone, no longer existed! After a little cussing I figured out that my mixture was too wet, mixed a bit of flour in and cooked them in the skillet. Everything went much more smoothly after that.

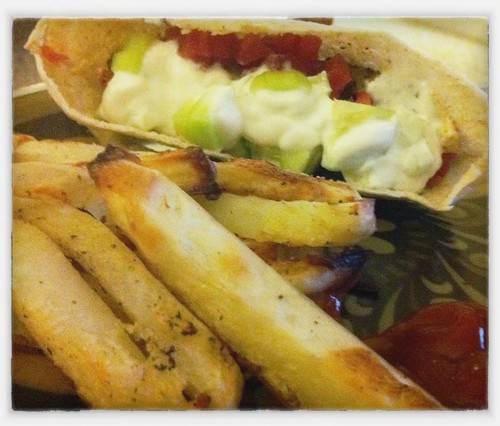
Here is our little feast ready to be turned into sandwiches. To complete the sandwiches we have hummus, cucumber, tomato, and yogurt sauce (recipes for hummus and yogurt sauce are from here and here).

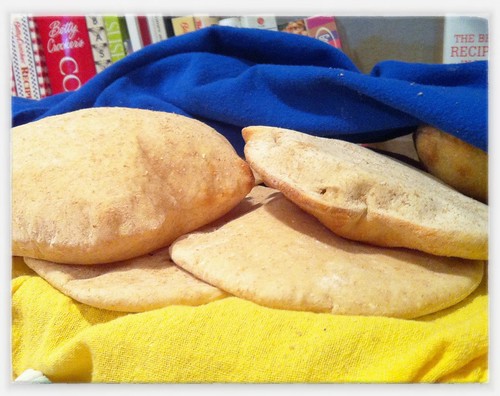
The pita looking puffy and happy! (I used the recipe from here, which is where I cook most of my bread from)

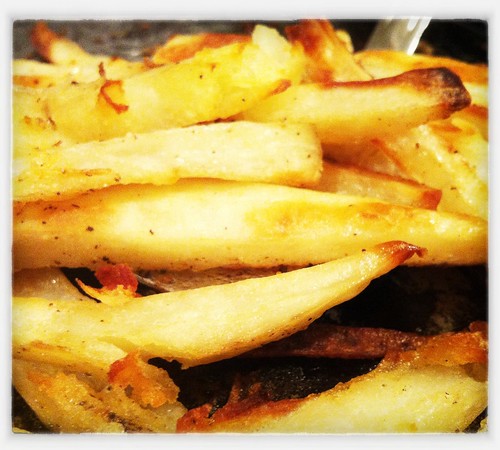
Oven baked fries looking crispy and delicious! (this recipe I just kind of make up: potates, oil, salt, pepper...bake at 425 degrees until crispy, flip once)
Dinner in all of it's tasty goodness. We had the perfect night and watched one of the best movies Jerod and I had seen in a long time, Drive. If you haven't watched it you should, unless you are my Mom then DO NOT!!!!!! This movie is not for you. We followed this up with some chocolate and peanut butter chip, oatmeal cookies which I didn't get a picture of but were great all the same. I really love weekends. I hope all of you did something fun too.

Thursday, February 9, 2012

Jumbo Gumbo

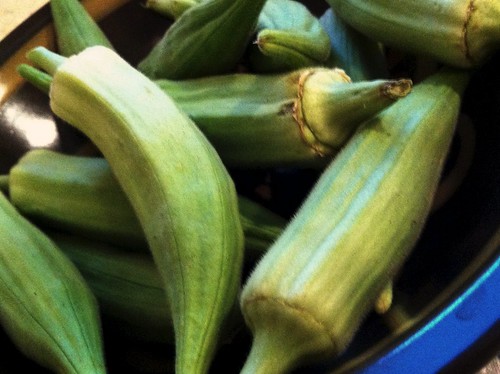
Inspired by our trip to NOLA, the last of the rapidly freeze-burning okra (from our garden), the chilly day, and my somewhat new found love for sausage. I decided to try making some gumbo last Sunday.


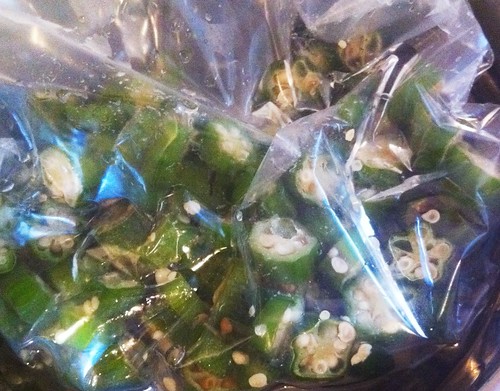
The frozen okra I just spoke of.


The sausage (I think this part is self explanatory)


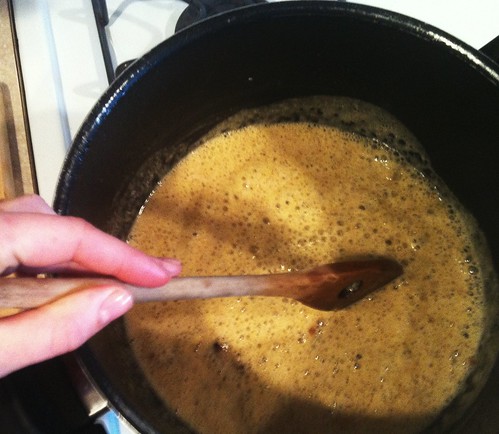
The beginning of my roux.


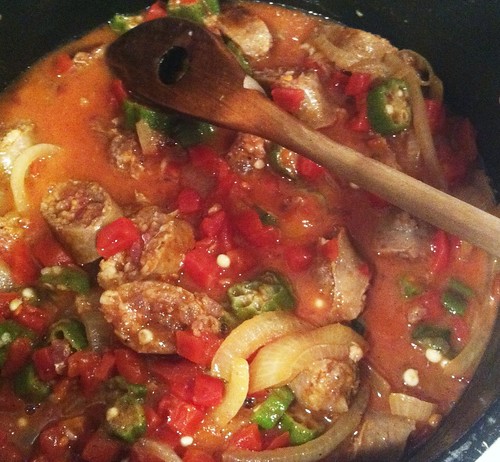
Onions, tomatoes, etc. together and ready to simmer.


A big bowl of delicious! Jerod loved this and it was pretty easy, I think I will be making variations of it again.


oh-the recipe is from here. I tend to use the same cook books a lot.

Sunday, September 11, 2011

End of Summer

The last two weekends have been beautiful! The oppressive heat of the summer broke (although we hear it is heating back up this coming week) and has led to open windows, walks, and a renewed interest in almost everything. . .including this blog.

I thought I would share a few of my favorite pictures from the last few weeks.

Enjoy!!!!!!!!!!!!!!!!

DSC02608

picnikfile__q9vX5

picnikfile_XfkAZx

picnikfile_M8iudE

picnikfile_ngaI8e

DSC02591


picnikfile_AdzMhZ

Tuesday, March 8, 2011

Laissez les bon temps roulez

DSC02380

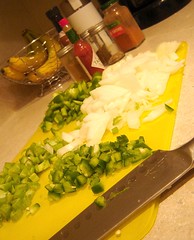
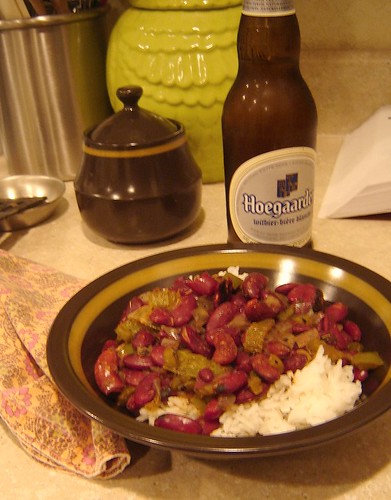
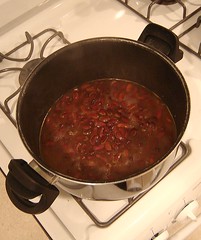
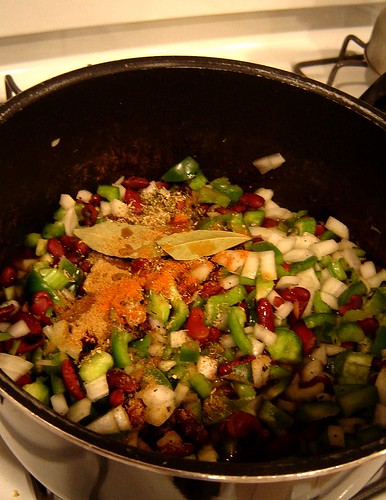
In honor of Mardi Gras I cooked up some red beans and rice tonight! As anyone who knows me is aware I am a bit obsessed with beans and will use any excuse to cook/eat them. My favorite cookbook of all time has a delicious and spicy recipe for "Bourbon Street Red Beans and Rice". They are great fresh out of the pot and even better for lunch the next day (which is always a plus). Our excitement for the night stopped there but good food and good company means a good evening.
I hope everyone is having a wonderful day and did a little celebrating.
So. . . Happy Mardi Gras to all and CHEERS!

DSC02378

DSC02382

DSC02385

*Note* wash hands with soap after cutting a Jalapeno and DO NOT rub eyes.

Tuesday, February 1, 2011

Snow Day

DSC02324

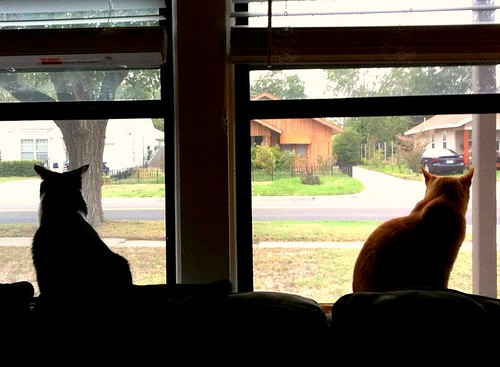
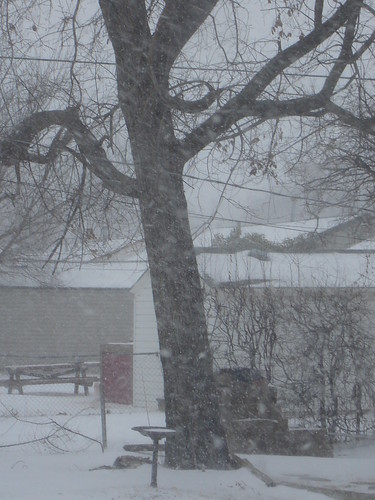
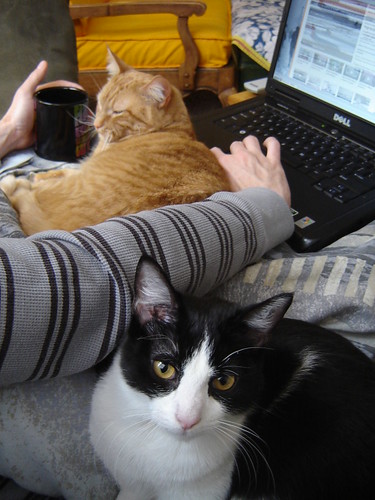
Oklahoma got hit with and actual snow storm (not just ice, although we got some of that too) so Jerod and I both received a day off of work. We decided due to the arctic temps, and the niceness of having an unplanned day off together to have a big breakfast, stay in our comfies (i.e. pajamas and blankets), cuddle with cats, bake and have a casual dinner.

DSC02330 DSC02331
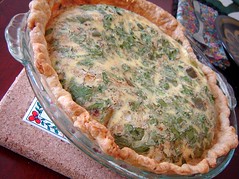
On a side note Mark Bittmans pie crust is delicious as is this Mexican Quiche recipe!

DSC02329

DSC02337

DSC02351 DSC02353
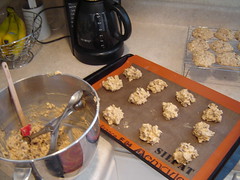
Peanut Butter, Oatmeal, Chocolate Chip!

DSC02346

DSC02358 DSC02361
Nice, light dinner (from here) to finish off a lazy day.

DSC02355

I found out that I will not be working tomorrow. . . I don't know what I plan to do with it!